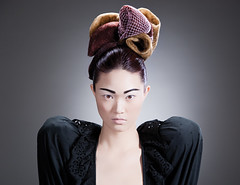
Overcast Days


I love shooting on overcast days. You basically have one giant soft fill light almost anywhere you shoot outside. Bring along a speedlite with an umbrella or small soft box and it's easy to introduce a key light and get some nice soft portraits. It's also nice not to have to compete with the strong sun light, it becomes a lot easier to overpower the sun with your speedlite.

I actually want to get around to hauling my Elinchrom strobes outside this summer. The difficulty has been the lack of power, or rather having no place to plug your strobes into when shooting outside. This had been one of the key reasons I have stuck with the speedlites for the time being. However, a friend of mine recently bought the Alienbee battery pack which supposedly is able to also run some of the Elinchrom strobes.

On the flip side, reflectors and diffusion panels are awesome to have on bright sunny days. I want to get more into that but I'll leave that for another entry.

In the end, these small accessories that help you control light will give you a lot more freedom in the conditions you can shoot in. They're fairly cheap and you can get a lot of use out of them. Knowing how to control light to your benefit will benefit you a lot more than a sharper lens or a better camera body. Invest in those!

Monitor Calibration

11:06 AM Posted by Hikari Studio 0 comments


For those actually doing prints from their photography, whether it be personal or for a client, I would highly recommend picking up a monitor calibration system. In the end it helps save a lot of headaches and insures that what you see on the monitor is what you get when you make prints.

Personally I recently went with the ColorVision Spyder 3 Pro system. I've heard many good things about it and its worked flawlessly for me. There are cheaper options available as well as even more accurate and encompassing products. Regardless find something that fits your budget and it will be a great asset in the long run.

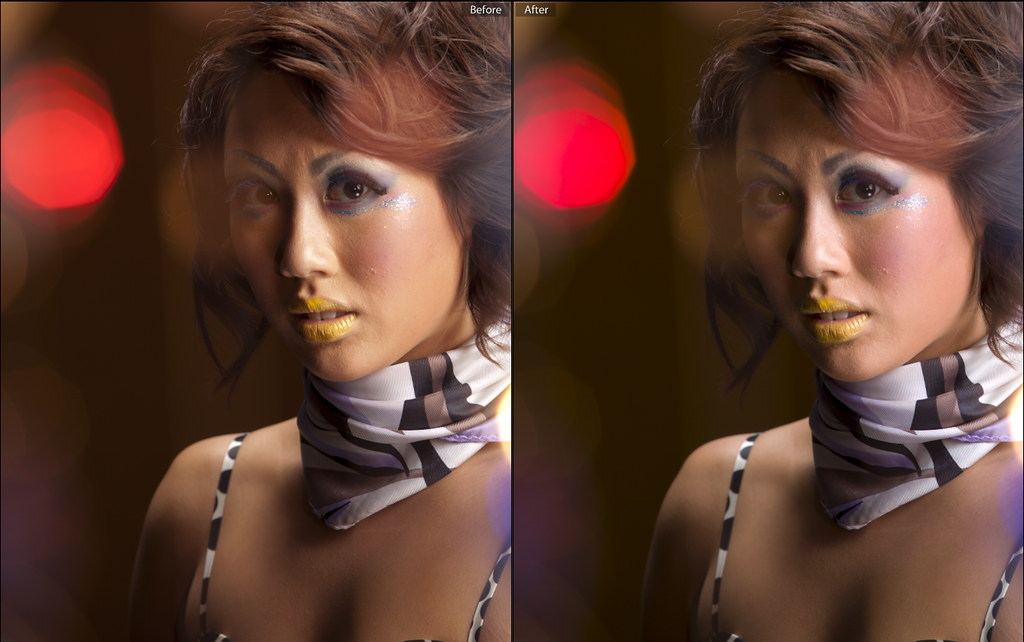
Following that, I've also recently invested in the X-rite ColorChecker Passport after getting a chance to borrow a friend's version. For those serious about correct colors something like this makes a huge help in getting not only correct colors in general but much more accurate skin tones (something that was really big for me). It's quick, it's easy and it's incredibly portable. If you know someone using this system I suggest asking to borrow it for a day or two and see for yourself. If not, you really can't go wrong with picking it up if you're even remotely interested in getting the correct colors and tones in images. The changes may sometimes be subtle but they make a huge impact.

As for the image above, the effect is very subtle but you can see the difference on the models skin tones. The tones are much more natural. In this particular case the original shot, when imported into lightroom and applied with the adobe standard color profile you would normally use leads to much more yellowish tones. Upon applying a profile created by the color checker you end up with much nicer results.

Black and White - Silver Efex Pro


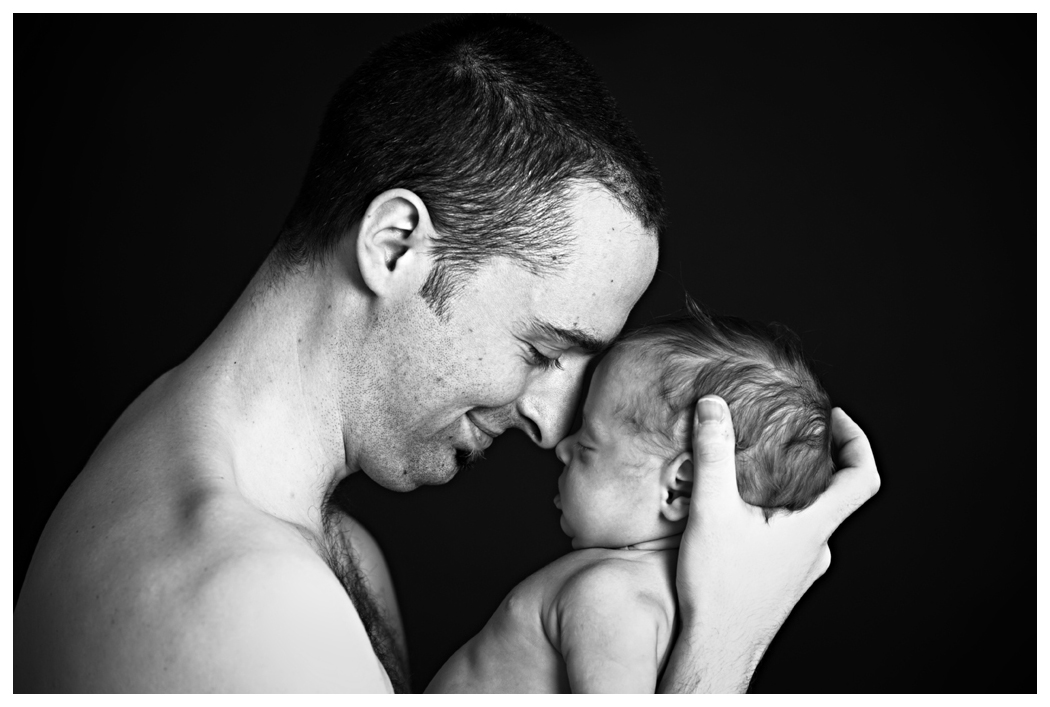
For those interested in black and white photography / post processing I would highly recommend checking out the Nik software packages, specifically Silver Efex Pro. You can get a trial run from their website, check out the lessons and give the add on package a go. It's well worth it.

I shoot kids.


I can't remember where I heard the slogan but it gave me a good laugh.

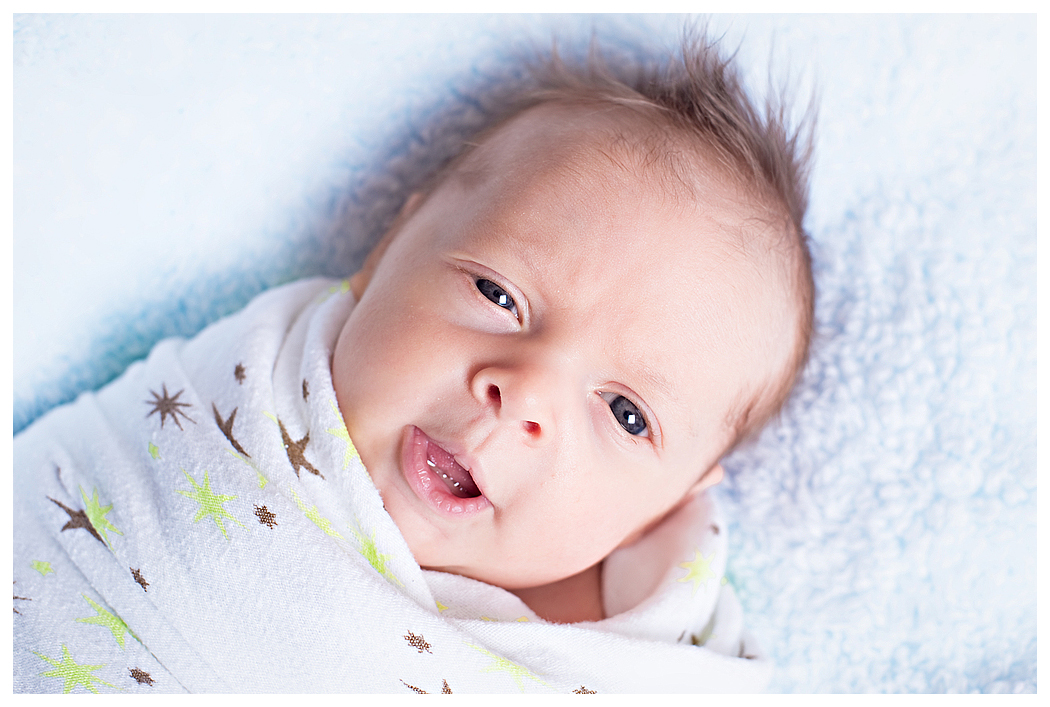
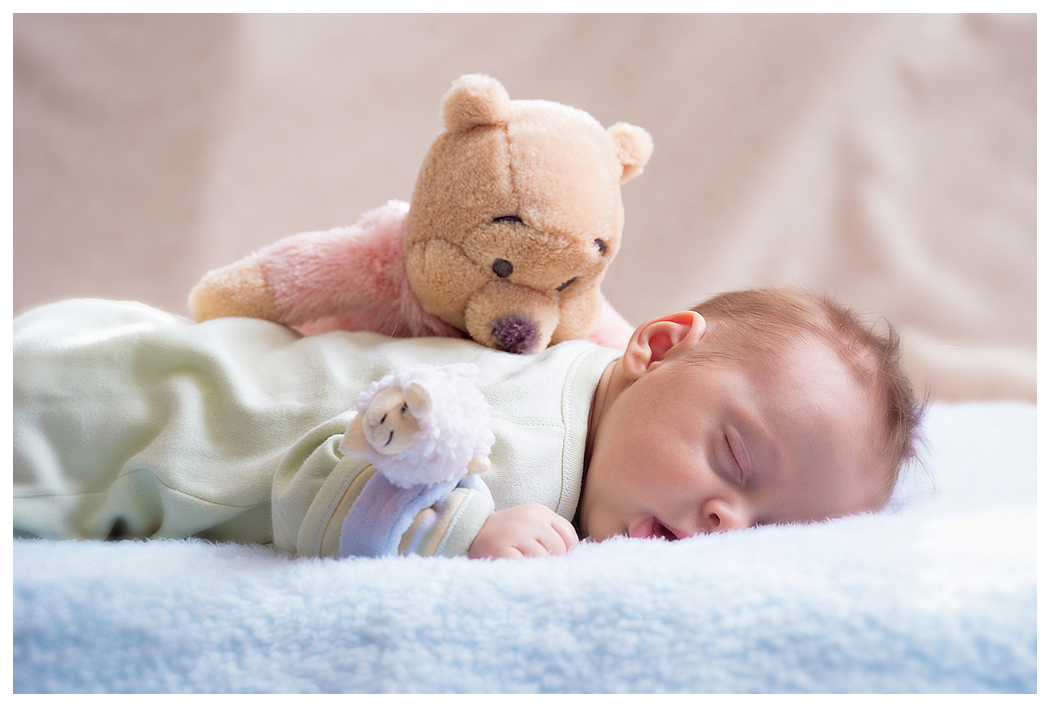
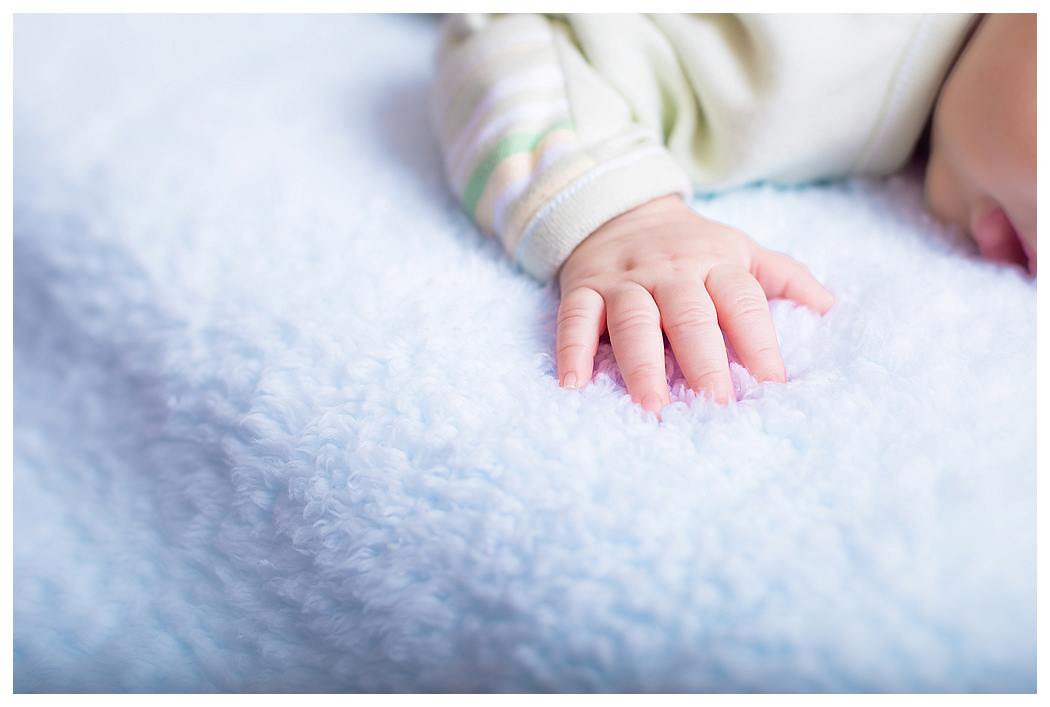
So this past weekend my cousin had asked me if I could do some shots for her of her baby, which she had about a month ago. Normally taking pictures of kids is not my cup of tea. I prefer something a bit more cooperative but it's always fun to give it a shot.

I ended up spending most of the afternoon at her house taking shots of the newborn. Ironically enough he ended up sleeping through most of it, even to the mother and fathers attempts to wake him up for the majority of pictures. I imagine this will probably be the most well behaved kids shoot i'm bound to have in my career.

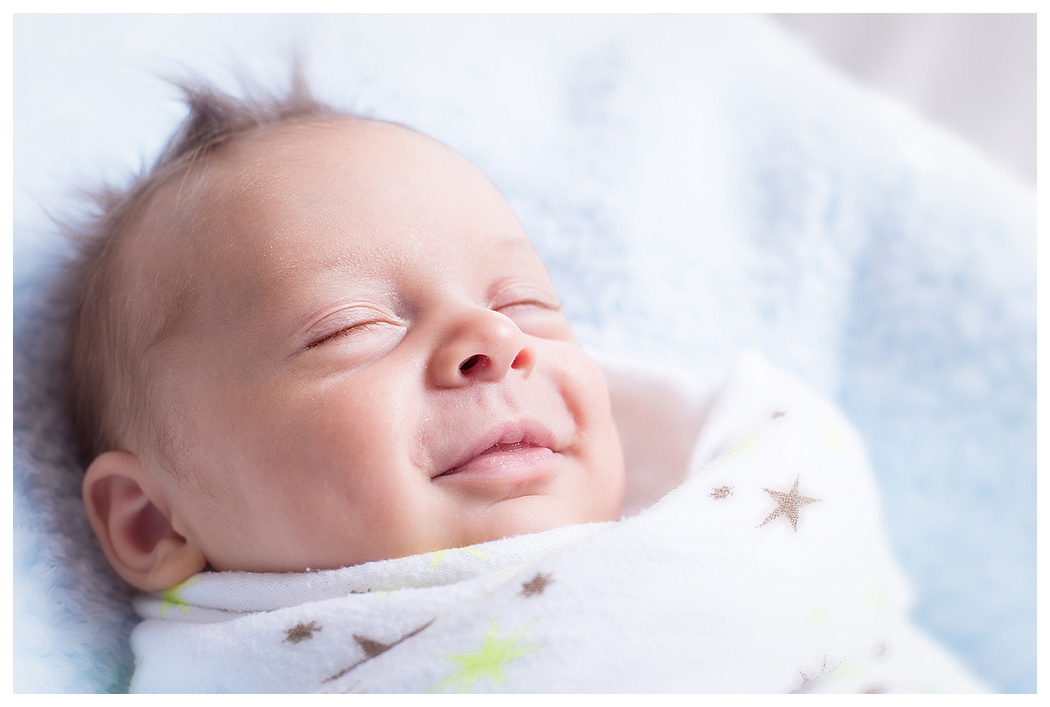
Luckily though, I had my trigger finger ready and got a few shots of his big blue eyes and smile.

I think a big part of shooting children is having a lot of patients You're working off their clock, not the other way around. I've also found that it helps put a fresh perspective of things when you get down to their level and see the world through their eyes. It's a much different perspective down there.

Importance of Tagging

3:07 PM Posted by Hikari Studio 0 comments


Aside from the fairly obvious easy to organization another important part of it is when you're using sites like flickr.

Plain and simple: It will help get your image seen.

Last year I had someone contact me via flickr asking if a particular shot of mine was available in a larger size and am I willing to sell usage rights for the image. After doing some research on the person/company making this offer it turned out to be a group working out of British Columbia. The company was actually pretty prominent in the advertising world.


To make a long story short I ended up selling the usage rights to the image to them, twice to be exact. They had wanted the image to be a part of promotional material being put together for the Government of Alberta promoting the province of Alberta. The second time they had contacted me was to extend the rights to posters and billboards, something that was not mentioned in the original usage rights.

Companies watch sites like flickr and do contact users. Tagging your photos with appropriate keywords plays a key role in having your photos seen on such sites.Spent the extra few seconds to tag your photos properly. It might make you some money or bring you attention in the long run.

Trimming The Fat


When it comes to workflow I am still in the process of reorganizing mine. It has taken some rearranging at the foundation due to resorting to filter packages more as of late as well as making the switch to Nikon.

One of the fundamental first steps thought is trimming the fat, that is after importing and backing up my files from a shoot I have gotten to making several passes through all the shots from a shoot and using the Library filters in Lightroom to bring together only the shots I feel are the best ones I captured that shoot.

Everyone has their own method of doing this, as always I suggest experimenting and seeing what works best for you. There are a lot of redundant ways to do it to cater to each photographers tastes and needs.

In my case I look over the photos quickly in the Library tab in Lighroom. I make several passes starting out with the out of focus shots, under exposed, over exposed, motion blur etc etc. Mind you sometimes these type of shots aren't unwanted, however in the general sense that's what I watch out for. I set "rejected" flags on these photos. It's nice, simple and quick since I can just use the keyboard to scroll between pictures and set flags. At the end I can just Filter Lightroom to display the rejected images and delete those altogether.

After that I do another pass through, this time paying a bit more attention to actual elements within the shots. I look for big distracting elements I may not have caught, bad framing, lack of focus etc etc. This pass through is usually pretty quick as well. I generally also have a habit of setting these as rejected. I tend to be quite conservative in terms of what I flag for rejected since I will be deleting it so the criteria for getting the rejected flag is usually pretty blatant.

I make it a habit to delete the photos that were rejected by this stage. For the next passes I continue to flag the unwanted pictures as rejected however I do not delete them anymore. I set the filter to only display flagged or unflagged photos. Now when I set an image as rejected it will not show in my library (but is still there). It helps to clear up the clutter and distractions as I go.


From here on in all the passes I make are comparing the shots around it. I match up similar shots and keep the one I feel is better. These passes of course take a bit more time and involve zooming in and checking the smaller details.

Eventually after a few more I bring it down to a much smaller number than what I had originally started with, making sure I only bring my best shots to the table. Not only does this create an environment that's much easier to work in, it also helps to tie the shoot together. I find personally that this sequence works a lot better for picking out the best shots in a shoot rather than going through all the shots and just picking the best ones. You end up putting a lot more thought and consideration into each individual shot this way. It also makes for a better presentation when handing a CD of proofs to a client. Although, in that scenario I end up being a lot more liberal as to what I don't reject.

Local Contrast, Sharpening and Separation

One of the important steps while post processing your photos is the fine tuning of contrast and addition of sharpening towards the end of the workflow on any given photo.

Some of you may already be familiar with using the High pass filter [Filter->Other->High Pass] within photoshop to help define edges and give subjects in photos separation. If you haven't check the bottom of this entry for a quick tutorial on using it.

Although it works fairly well there is a better method I came across online to give a much nicer effect that is also usable a variety of different ways for a number of effects. It's a little convoluted and I won't dare attempt to try and explain the core mechanics of it but i suggest giving it a shot. Once you try it out a few times it becomes fairly easy to do. On top of that you can also set up an action for it to speed things up.

The method can also be used to help keep detail in an image when reducing the size for internet use, one that keeps the detail a lot better than the standard photoshop procedures.

You can read about the procedure HERE

As noted in the topic, the procedure can be used for a number of different techniques within photoshop and I highly recommend becoming familiar with the method and exploring the number of other uses as linked in the original post. It will help give your pictures depth, especially if you are already familiar with using layer masks.

I've personally used this method to soften backgrounds, give separation, add local contrast to outlines and sharpening. It's a tool I involve in practically every picture that goes through photoshop.

Here is an example, click on the picture for a bigger version. The file is almost 8MB so it may take a minute to download.
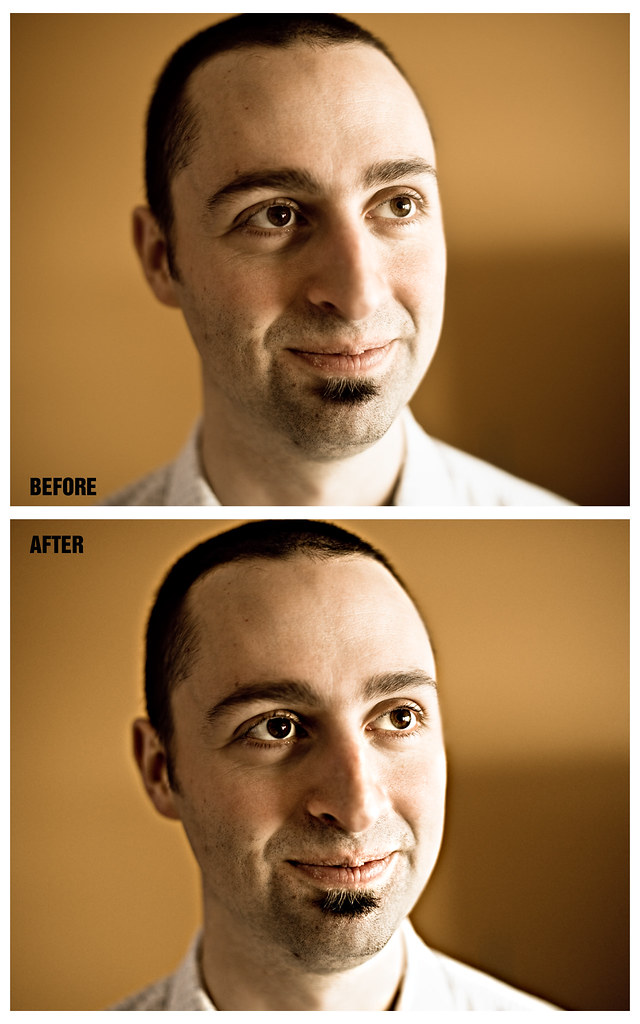

In this case I made the effect subtle but still noticeable. I used a layer mask so the effect only affected his eyes, head outline, lips and general strong features. I made sure it did not effect his skin in general as it would bring out too much detail and look unflattering. Although in this case the background is out of focus and soft it still helps to add some separation between him and the background, adding a little more dimension.

-The High Pass Tutorial-

An easy way to test this filter is to open up an image in photoshop, something with some detail (although I recommend trying it on a soft or slightly off focus shot as well) and then duplicating the original layer.

-On the copy of the background layer go to Filters -> Other -> High Pass.

-Enter a value around 17.0, in this case this is just an arbitrary number, feel free to experiment as you become more comfortable. The number will vary depending on the dimension of your picture.

-Hit OK to apply the filter. You will notice it is a grey color with faint outline of your image

- Now, under the Layers tab change the blending mode of the High Pass layer to Soft Light and drop the opacity of the layer until you hit a desired effect. You can also use different blending options such as Hard Light or Overlay. Feel free to experiment.

While this method is quick and painless the tutorial mentioned earlier in this topic is actually more versatile and yields cleaner and nicer results. Overall it is a very similar effect, just done a lot better.
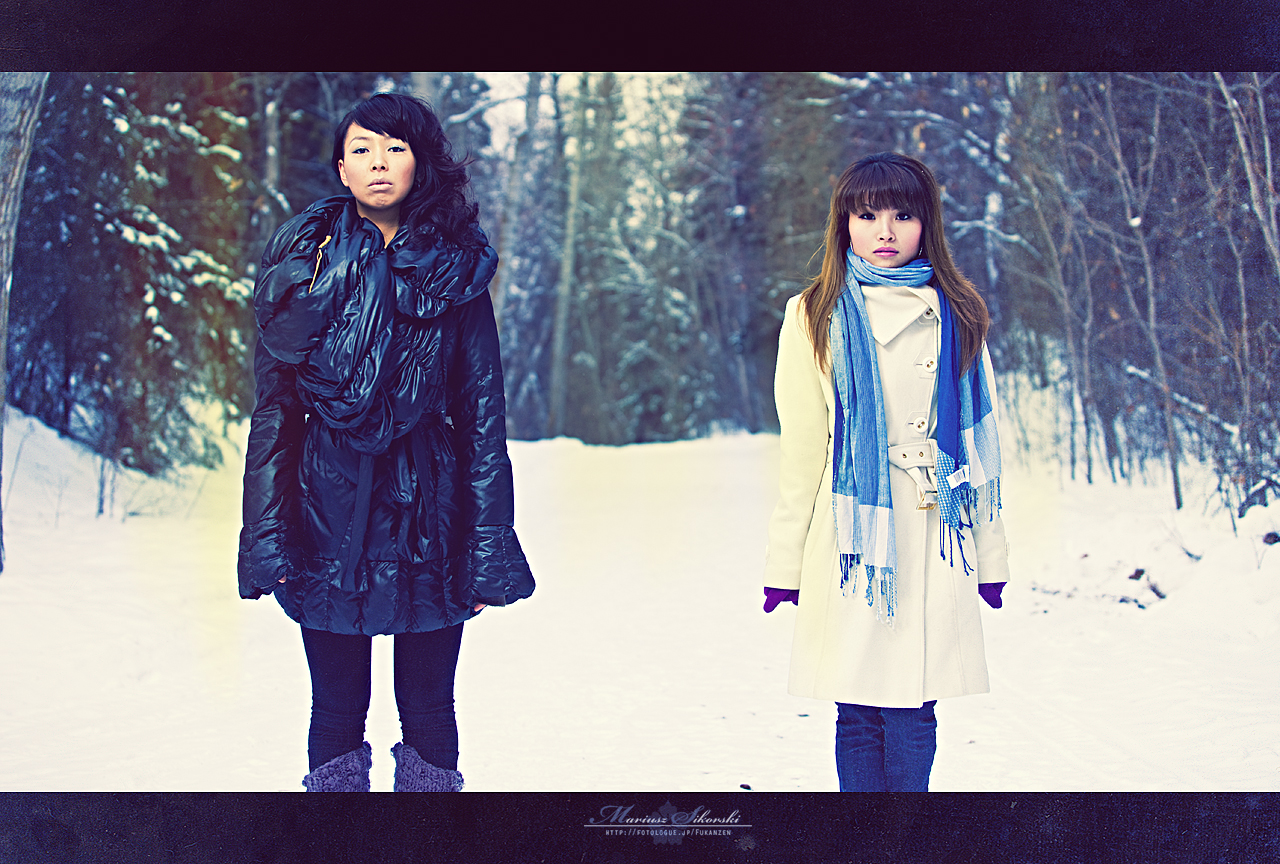
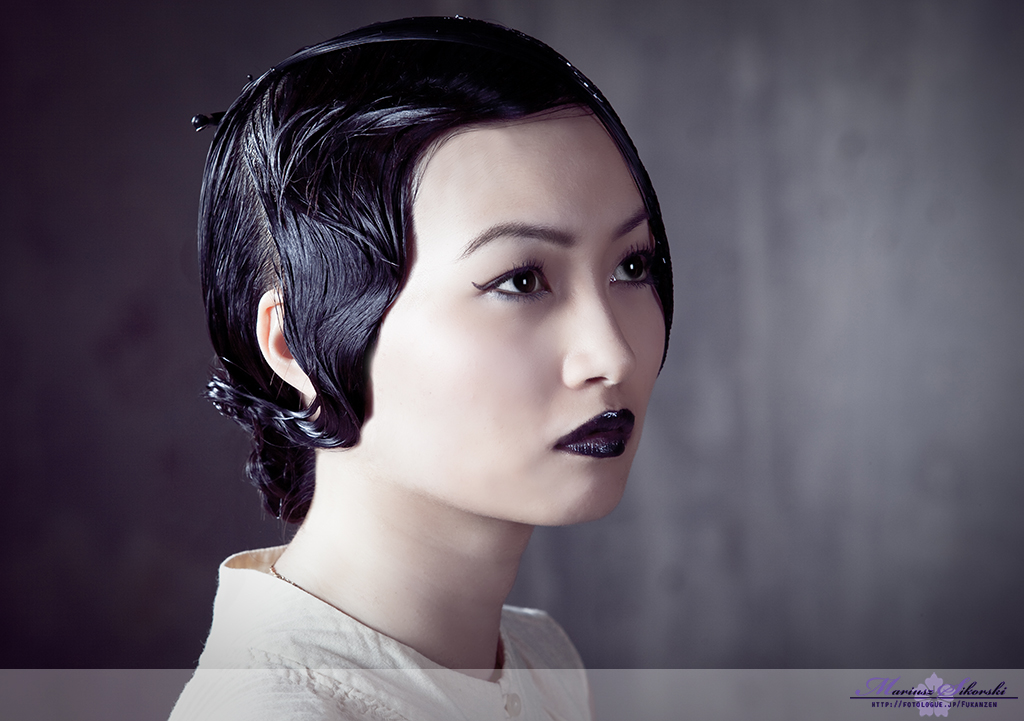
Lomo Effects


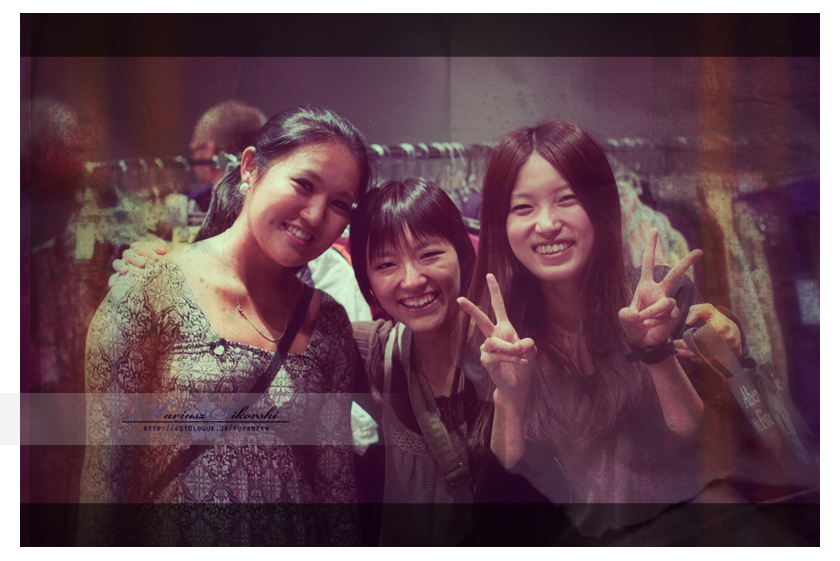
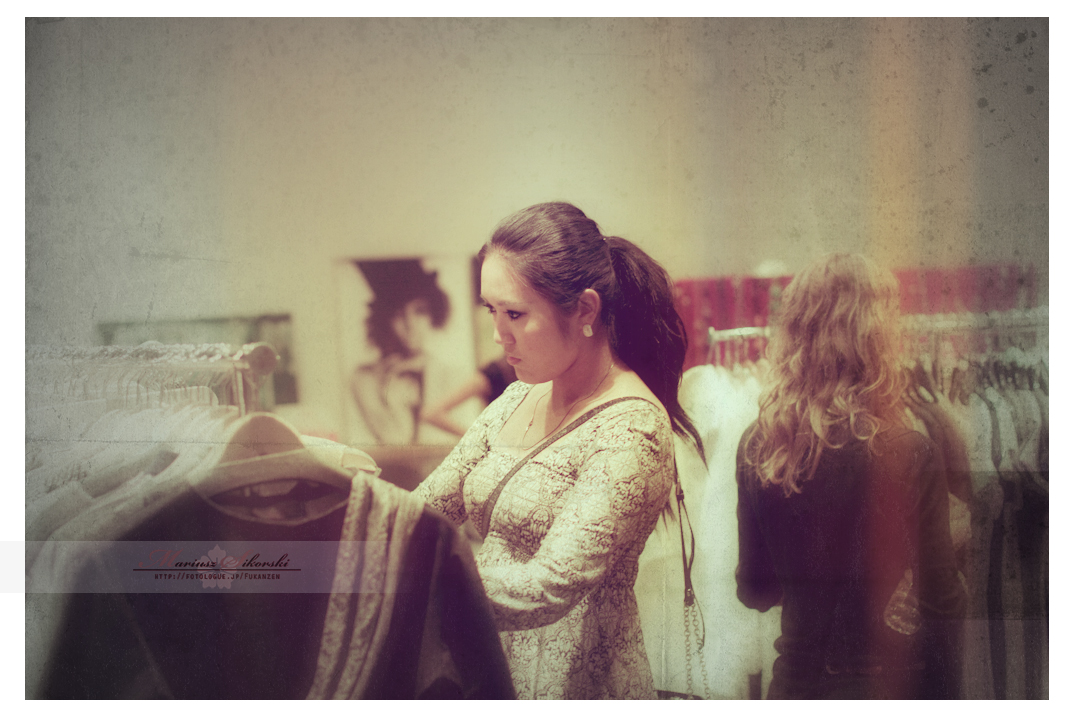
I love doing these. It's more for time's when i bring my DSLR along and use it almost like a point and shoot. Part of the initial appeal is getting fly on the wall type shots, ones without much planning or thought put into them so to speak. You can find a lot of different tutorials on youtube to pull off this sort of texture and style. At the core of it all is cross processing. From there you can add soft edges, lens blurs, light leaks, vignetting , textures and a few other effects.

I want to put up a post about specific tutorials which I hope to do over the weekend. I've been running around a lot the past few days and haven't had much of a chance to sit down and do some photo editing let alone blog posting.

You can start with the basics of cross processing here. The best advice is to learn it and experiment experiment experiment.

Studio Work


One of the areas of photography that I've been quite lucky in is having access to a large studio quite freely. I met a local photographer at my first season shooting at Edmonton Fashion Week who ended up teaching me quite a bit of what I employ today in general events and studio shooting.

Through that I've also gained a large amount of appreciation into the work that goes into bringing together a studio shoot successfully. Learning early on to network and keep contacts and then organize and bring all those people together -- from models, makeup artists, hair stylists, designers and assistants -- into a single shoot becomes an important asset. It also takes a lot of practice and patience as nothing ever goes according to plan. That's Murphy's Law for you I guess.

It's great to start easy, ask a friend to pose for you for some shots. Most certainly wont mind just helping out and they get some quality shots out of the deal for Facebook. Going from there you can ask friends who may be into hair styling or make up to perhaps help out. It's great to get the local community involved, friends who are trying to make it in their own business. It gives you a chance to practice shooting and you get the assistance of talent you may not normally have at your disposal. Through that your friends or contacts get a chance to get some free work for their portfolios that they can use to further their own pursuits.


Through it all you build a network of friends and contacts that can not only help you in a pinch but recommend you to others bringing you more opportunities and business.

On that note, sometimes people get a few paid shots early on and end up convincing themselves they no longer need to do free shoots. While i'm not one to argue with somebody who flat out wants to pay me for my work I still try and take the time to do a few shoots i don't charge for.

It's good practice.
It allows you to create an opportunity you otherwise may not have.
It benefits both parties.
It's great for networking.

There's many other reasons for it. Don't discount free work, it pays for itself in the long run.

In any case, start of with the people you know and new opportunitys will come to you. Build up an arsenal of friends and contacts you can work with and trust and you'll get some amazing results with the help of others.

Lunar New Year Celebration


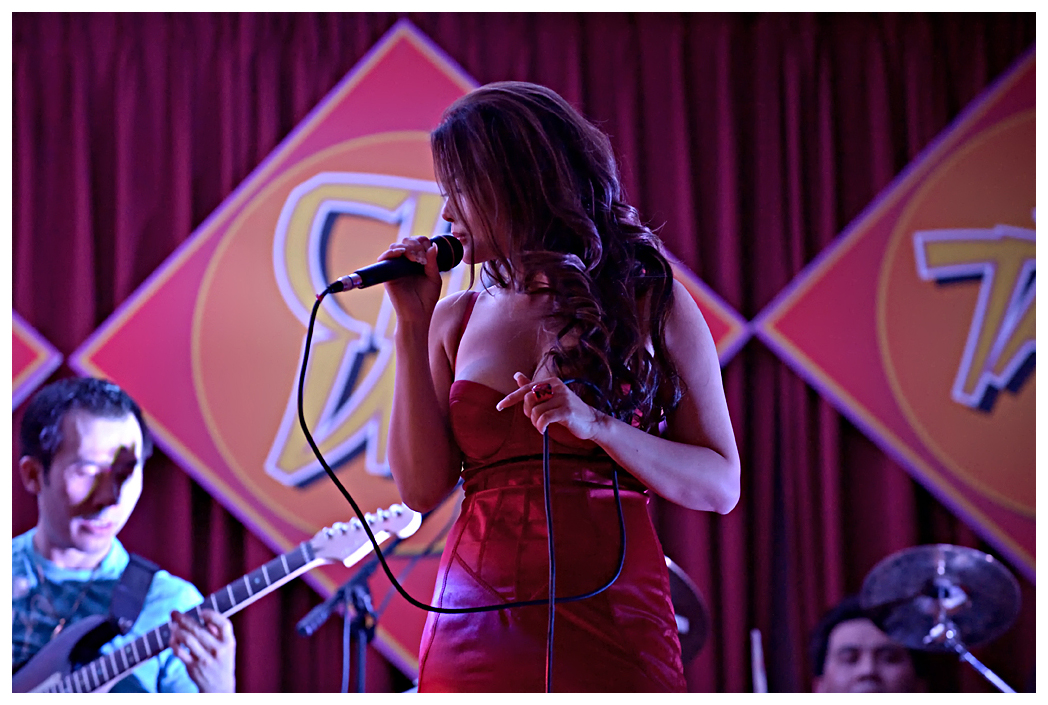
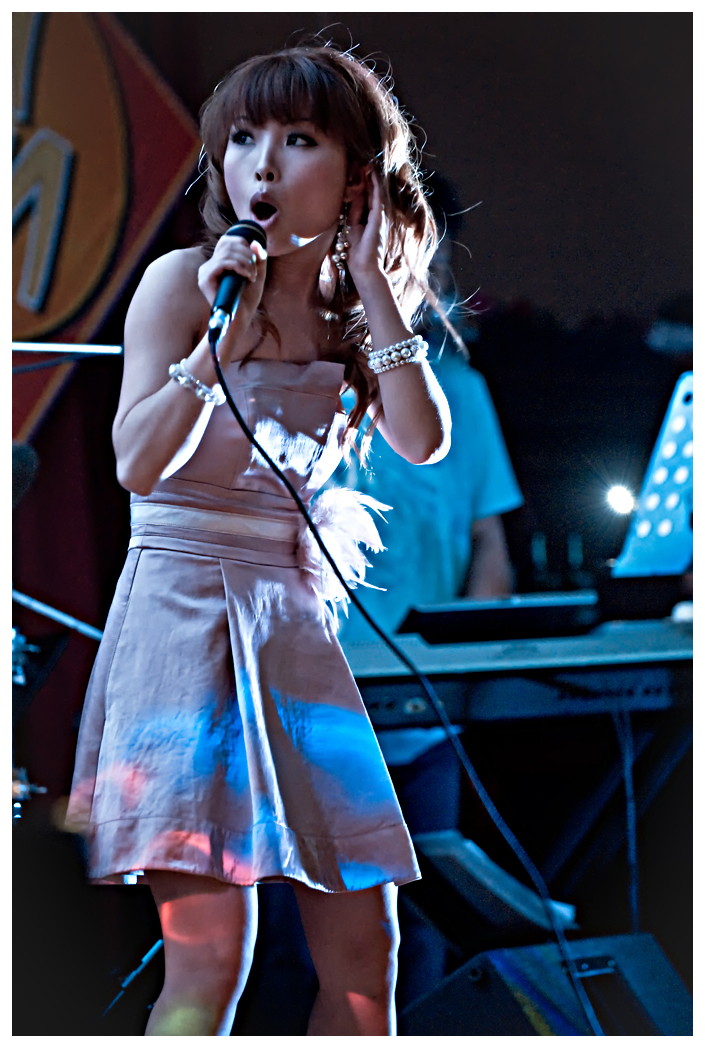
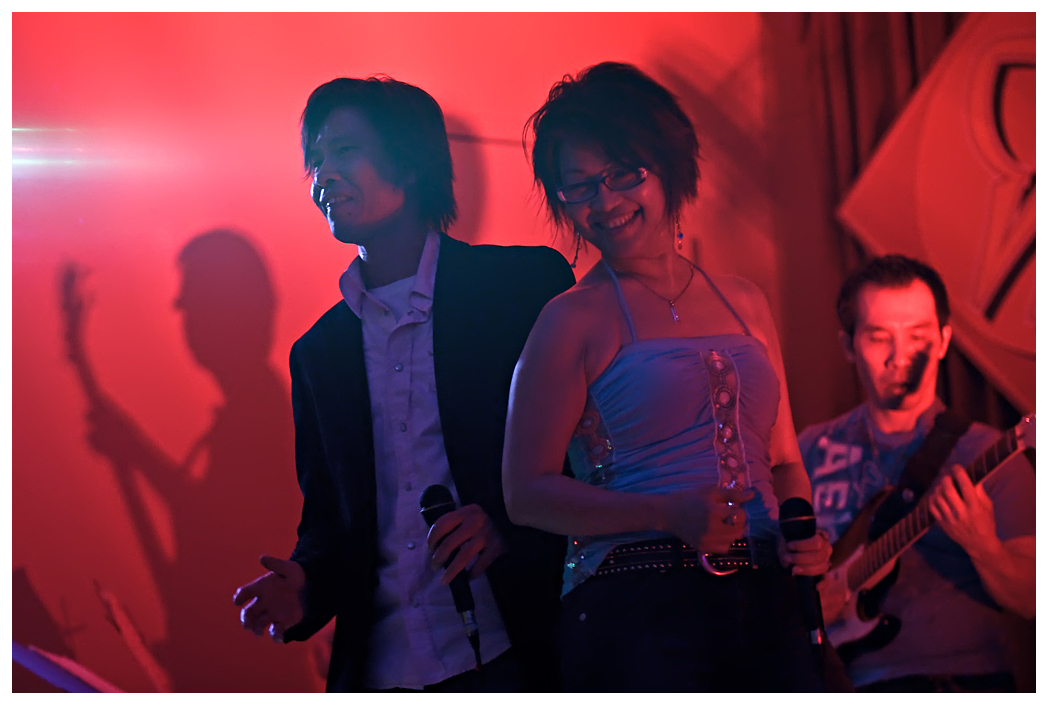
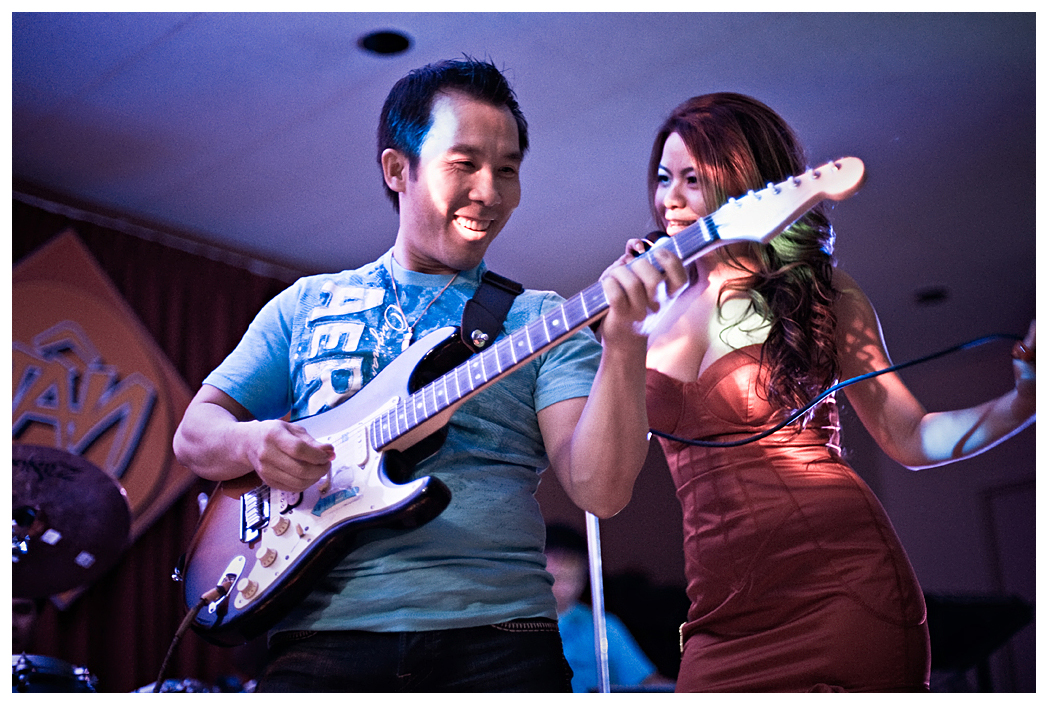
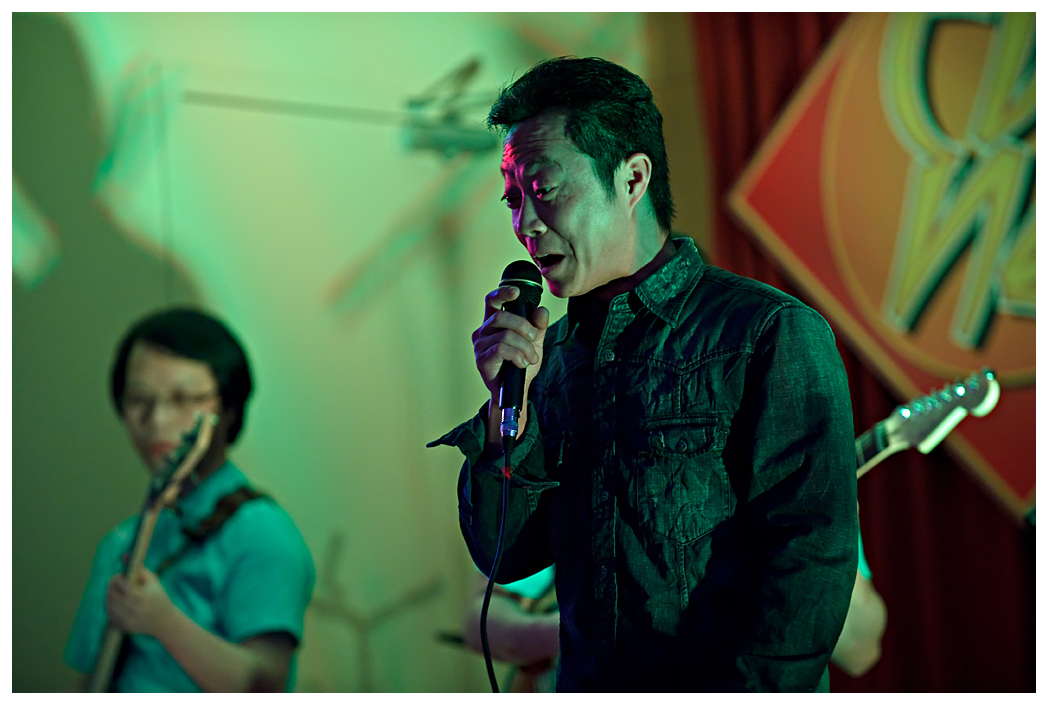
I had the pleasure this weekend of being asked to photograph a local performance at a celebration of the lunar new year by the Vietnamese community. It was being held at a local community center, coincidentally right by the high school I attended.

This past week I made the jump from Canon to Nikon. Ultimately I had a number of reasons to finally just ship, much of which I wont get into here but I still firmly am a believer that the right tools for the job are the ones that work the best in your hands. There is no camera that scores perfect marks across the board, each company has their advantages and disadvantages.

I ended up getting the D3s after using a 5D MkII for the past year and needless to say I was not only excited to make the switch but a little terrified at the same time. Getting used to the reverse controls after years of turning the zoom, the focus or the lens itself one way will definitely take some time to overcome.


As for the shoot, it was challenging but fun.

I think most photographers who begin studying about light will almost always initially begin by hearing that soft light is essentially "good" and hard light is "bad". Perhaps that is a bad way of stating it. We are more readily taught how to create soft light to light a subject in a flattering manner, more so than we are ever taught how to use contrast and harsh light for the same purpose.

In the end I believe it's mainly because soft light is a lot easier to work with and a lot more forgiving. Unfortunately people end up limiting themselves and not experimenting as much because of it.


This kind of occurred to me shooting at Edmonton Fashion Week. In that venue we can get away with putting up some strobes and most photographers there will get as soft a light as possible. It works and it looks great but it ends up killing the atmosphere the venue lighting creates (although in this scenario the venue atmosphere is kind of a pain to work with).

I guess what I'm trying to say is that if you end up bringing a speedlight to shoot at a venue try to use it in a way that will add some fill light and compliment as well as maintain the atmosphere. There is no need to create a mini studio everywhere you go. Don't just toss on the flash and overpower the room to get a good exposure. Sure there may be a lot of harsh light and contrast. It's also what makes it special.

There's an endless amount of photographers who will blast their subjects with on camera flash. While they may capture the scene they definitely don't get the essence and mood of it and that makes a huge impact.

I can not recommend a better site for that than strobist.com For those that have not gone through the Photography 101 and 201 lessons, I highly recommend you do so. There is a huge amount of knowledge you can sponge up.


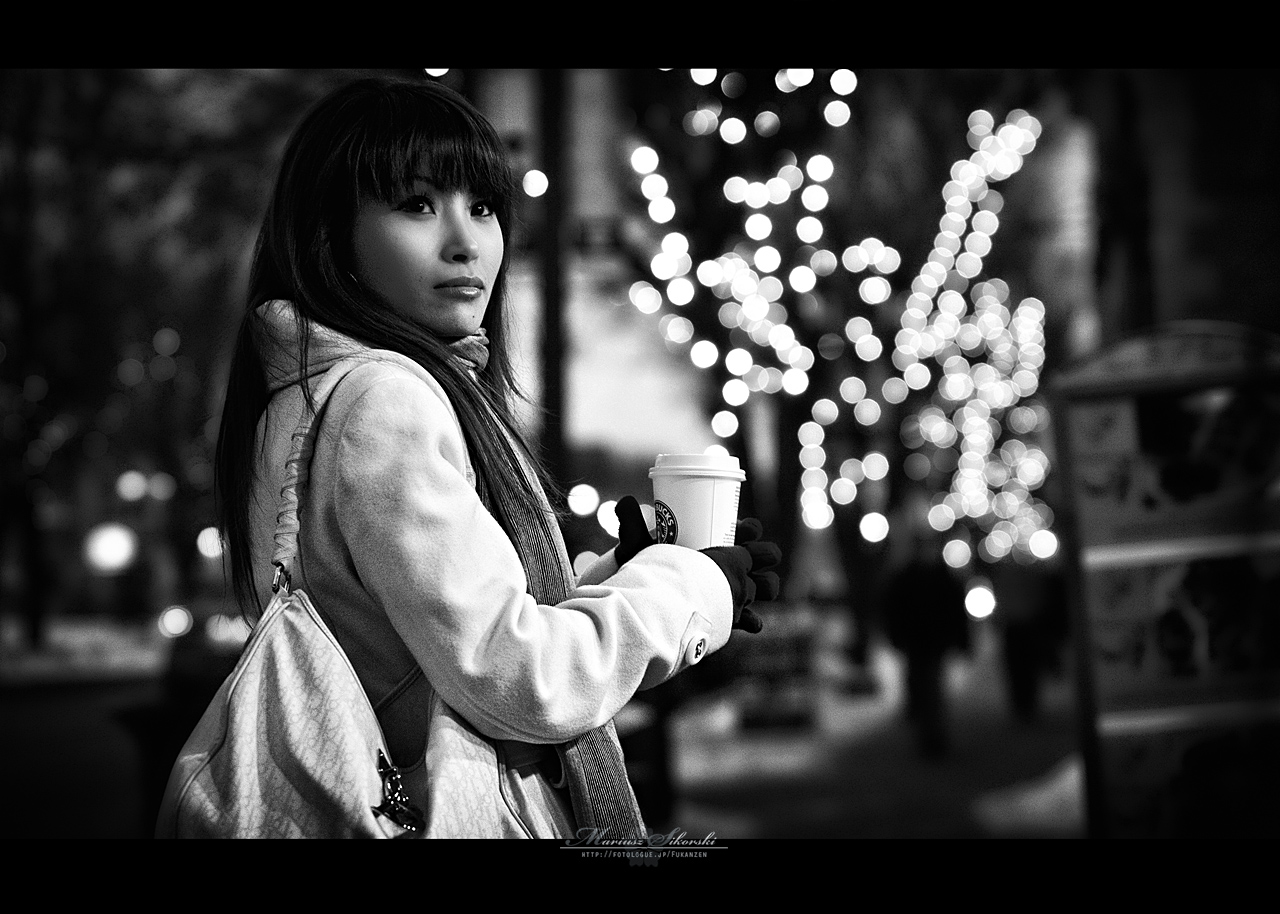
Of course, there are always times I also decide to leave the flash at home and go with what light is available, like all the shots in this entry. How hypocritical of me, eh?


E-Session - Stacey and Dave


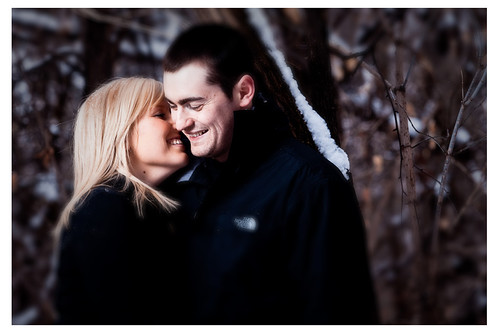
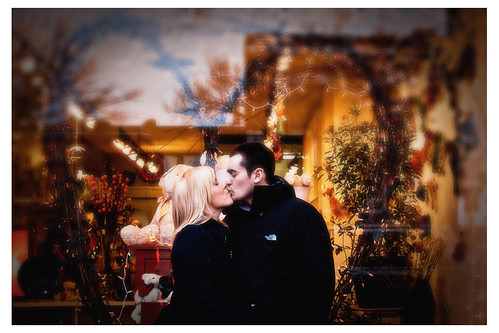
My first winter engagement session.

Though to be fair this was only my second overall. I had started shooting engagement sessions last spring but with fall quickly approaching the other 2 I had scheduled had to be moved till spring on account of the clients not having a chance to fit them in.

Stacey and Dave had wanted to do some shots for a scrapbook a family member was creating for their wedding which was only a few months away. They had contacted me and suggested they would like to do a shoot somewhere in a park and/or around Whyte Ave here in Edmonton. I did some research and took out a friend to do some practice shots since i don't shoot outside in winter too often. What can I say, I'm not the biggest fan of the weather. Everything went great and I had set the plans for the day in stone.

Of course, things never go according to plan.

On the actual day the weather had cooperated. I was hoping it would be over cast and had set out to do the shoot at about 3 pm, giving me a bit of time before the sun actually set and it got dark fast. The plan was to start at the river valley for a series of shots, then head over to Whyte Ave, warm up in a coffee shop and then head back out onto the street for a few more shots.

One of the big things I learned on the test shoot was how crucial a plan is for the actual shoot. It's winter here and the weather can get pretty chilly, you end up not having the kind of time to play around with your subjects as you would in summer. People get cold, fast. You don't really have time to make people wait in those conditions while you figure out your settings or plan out your shots and angles. It becomes essential to have everything planned out before the actual shoot.

Lesson 2 as it always seems to be is communication, communication, communication. It's something I can never seem to get to the degree I would like. Talking with your client is important. If everyone is on the same page it makes the flow of the shoot a lot easier. Try as I might I can never seem to get this lesson down pact. Practice makes perfect as they say.


In this particular case I had asked the couple to dress warm since we would be outside for a while. Me and my assistant ended up being the only ones who actually brought a pair of gloves as well as a hat. Unfortunately the bride to be had worn slip on shoes with no socks. This was of course after I had planned to do a handful of shots in almost knee deep snow. That scenario had to go out the window and this is where having a back up plan or two becomes really important.

Things will go different than what you had planned. It's just the nature of it all so there's no sense getting caught up in it. Spend the extra time and have a backup plan.

Because of this we had to finish the river valley side of the shoot early since the couple were getting pretty cold. As a result we ended up getting to Whyte Ave earlier than i had anticipated and a number of shots I had planned for that location needed darker conditions than what we had.

Luckily in the end everything turned out just fine. It's not always the scenario but days like this are a great reminder why it becomes incredibly important to have a plan as well as things to fall back on. It helps prepare you if you plan on shooting weddings in the future. Now those bring some stress to the table.


Introduction

3:04 PM Posted by Hikari Studio 0 comments


As some of you may be familiar with the title, My Private Tokyo was a much different blog done by a photographer and his experiences around Japan, particularly with the aid of a LOMO camera. While this is most certainly not the same individual and his own blog has not been active for quite some time I was originally very inspired by his work and that eventually led me into photography which i have been doing for about 3 years now.

A lot of my work is not done in a similar style but i have taken a lot of inspiration and appreciation for the work put forth by the previous blog and used it to influence my take and style on photography. That in itself is why i have chosen to title my blog in a very similar style. To me it is a way of paying homage to the original blog and hoping to bring some of it's spirit to my own photography.

With that I should probably introduce myself. My name is Mario and I have been involved in photography for the past 3 years. I have not taken any form of professional schooling or enrolled in any classes and what i have learned has mostly been from self study, experimentation and the knowledge and experience of professional individuals who i have had the pleasure of learning from.

Ultimately, like many others, I am just a student continually learning and pushing myself forward while having stumbled upon a few individuals willing to pay me for my work from time to time. I by no means wish to call myself a professional, that I am definitely not, but I am increasingly becoming more involved in the photography industry and with that I hope I can bring something to this blog that will give individuals on a similar path some guide and direction in questions and fields they may have. I have gained a lot of such knowledge from friends and individuals willing to sacrifice their time to answer my questions and this is one of my ways of returning something to the community while sharing some of my work.

Thank you.