Showing posts with label photoshop. Show all posts

Monitor Calibration


For those actually doing prints from their photography, whether it be personal or for a client, I would highly recommend picking up a monitor calibration system. In the end it helps save a lot of headaches and insures that what you see on the monitor is what you get when you make prints.

Personally I recently went with the ColorVision Spyder 3 Pro system. I've heard many good things about it and its worked flawlessly for me. There are cheaper options available as well as even more accurate and encompassing products. Regardless find something that fits your budget and it will be a great asset in the long run.

Following that, I've also recently invested in the X-rite ColorChecker Passport after getting a chance to borrow a friend's version. For those serious about correct colors something like this makes a huge help in getting not only correct colors in general but much more accurate skin tones (something that was really big for me). It's quick, it's easy and it's incredibly portable. If you know someone using this system I suggest asking to borrow it for a day or two and see for yourself. If not, you really can't go wrong with picking it up if you're even remotely interested in getting the correct colors and tones in images. The changes may sometimes be subtle but they make a huge impact.

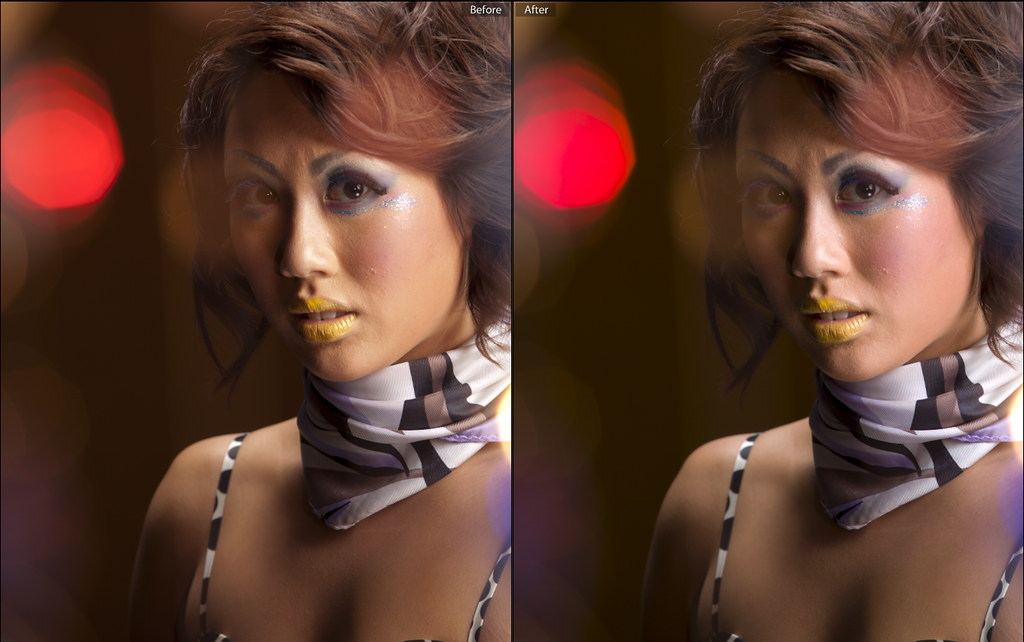
As for the image above, the effect is very subtle but you can see the difference on the models skin tones. The tones are much more natural. In this particular case the original shot, when imported into lightroom and applied with the adobe standard color profile you would normally use leads to much more yellowish tones. Upon applying a profile created by the color checker you end up with much nicer results.

Local Contrast, Sharpening and Separation

One of the important steps while post processing your photos is the fine tuning of contrast and addition of sharpening towards the end of the workflow on any given photo.

Some of you may already be familiar with using the High pass filter [Filter->Other->High Pass] within photoshop to help define edges and give subjects in photos separation. If you haven't check the bottom of this entry for a quick tutorial on using it.

Although it works fairly well there is a better method I came across online to give a much nicer effect that is also usable a variety of different ways for a number of effects. It's a little convoluted and I won't dare attempt to try and explain the core mechanics of it but i suggest giving it a shot. Once you try it out a few times it becomes fairly easy to do. On top of that you can also set up an action for it to speed things up.

The method can also be used to help keep detail in an image when reducing the size for internet use, one that keeps the detail a lot better than the standard photoshop procedures.

You can read about the procedure HERE

As noted in the topic, the procedure can be used for a number of different techniques within photoshop and I highly recommend becoming familiar with the method and exploring the number of other uses as linked in the original post. It will help give your pictures depth, especially if you are already familiar with using layer masks.

I've personally used this method to soften backgrounds, give separation, add local contrast to outlines and sharpening. It's a tool I involve in practically every picture that goes through photoshop.

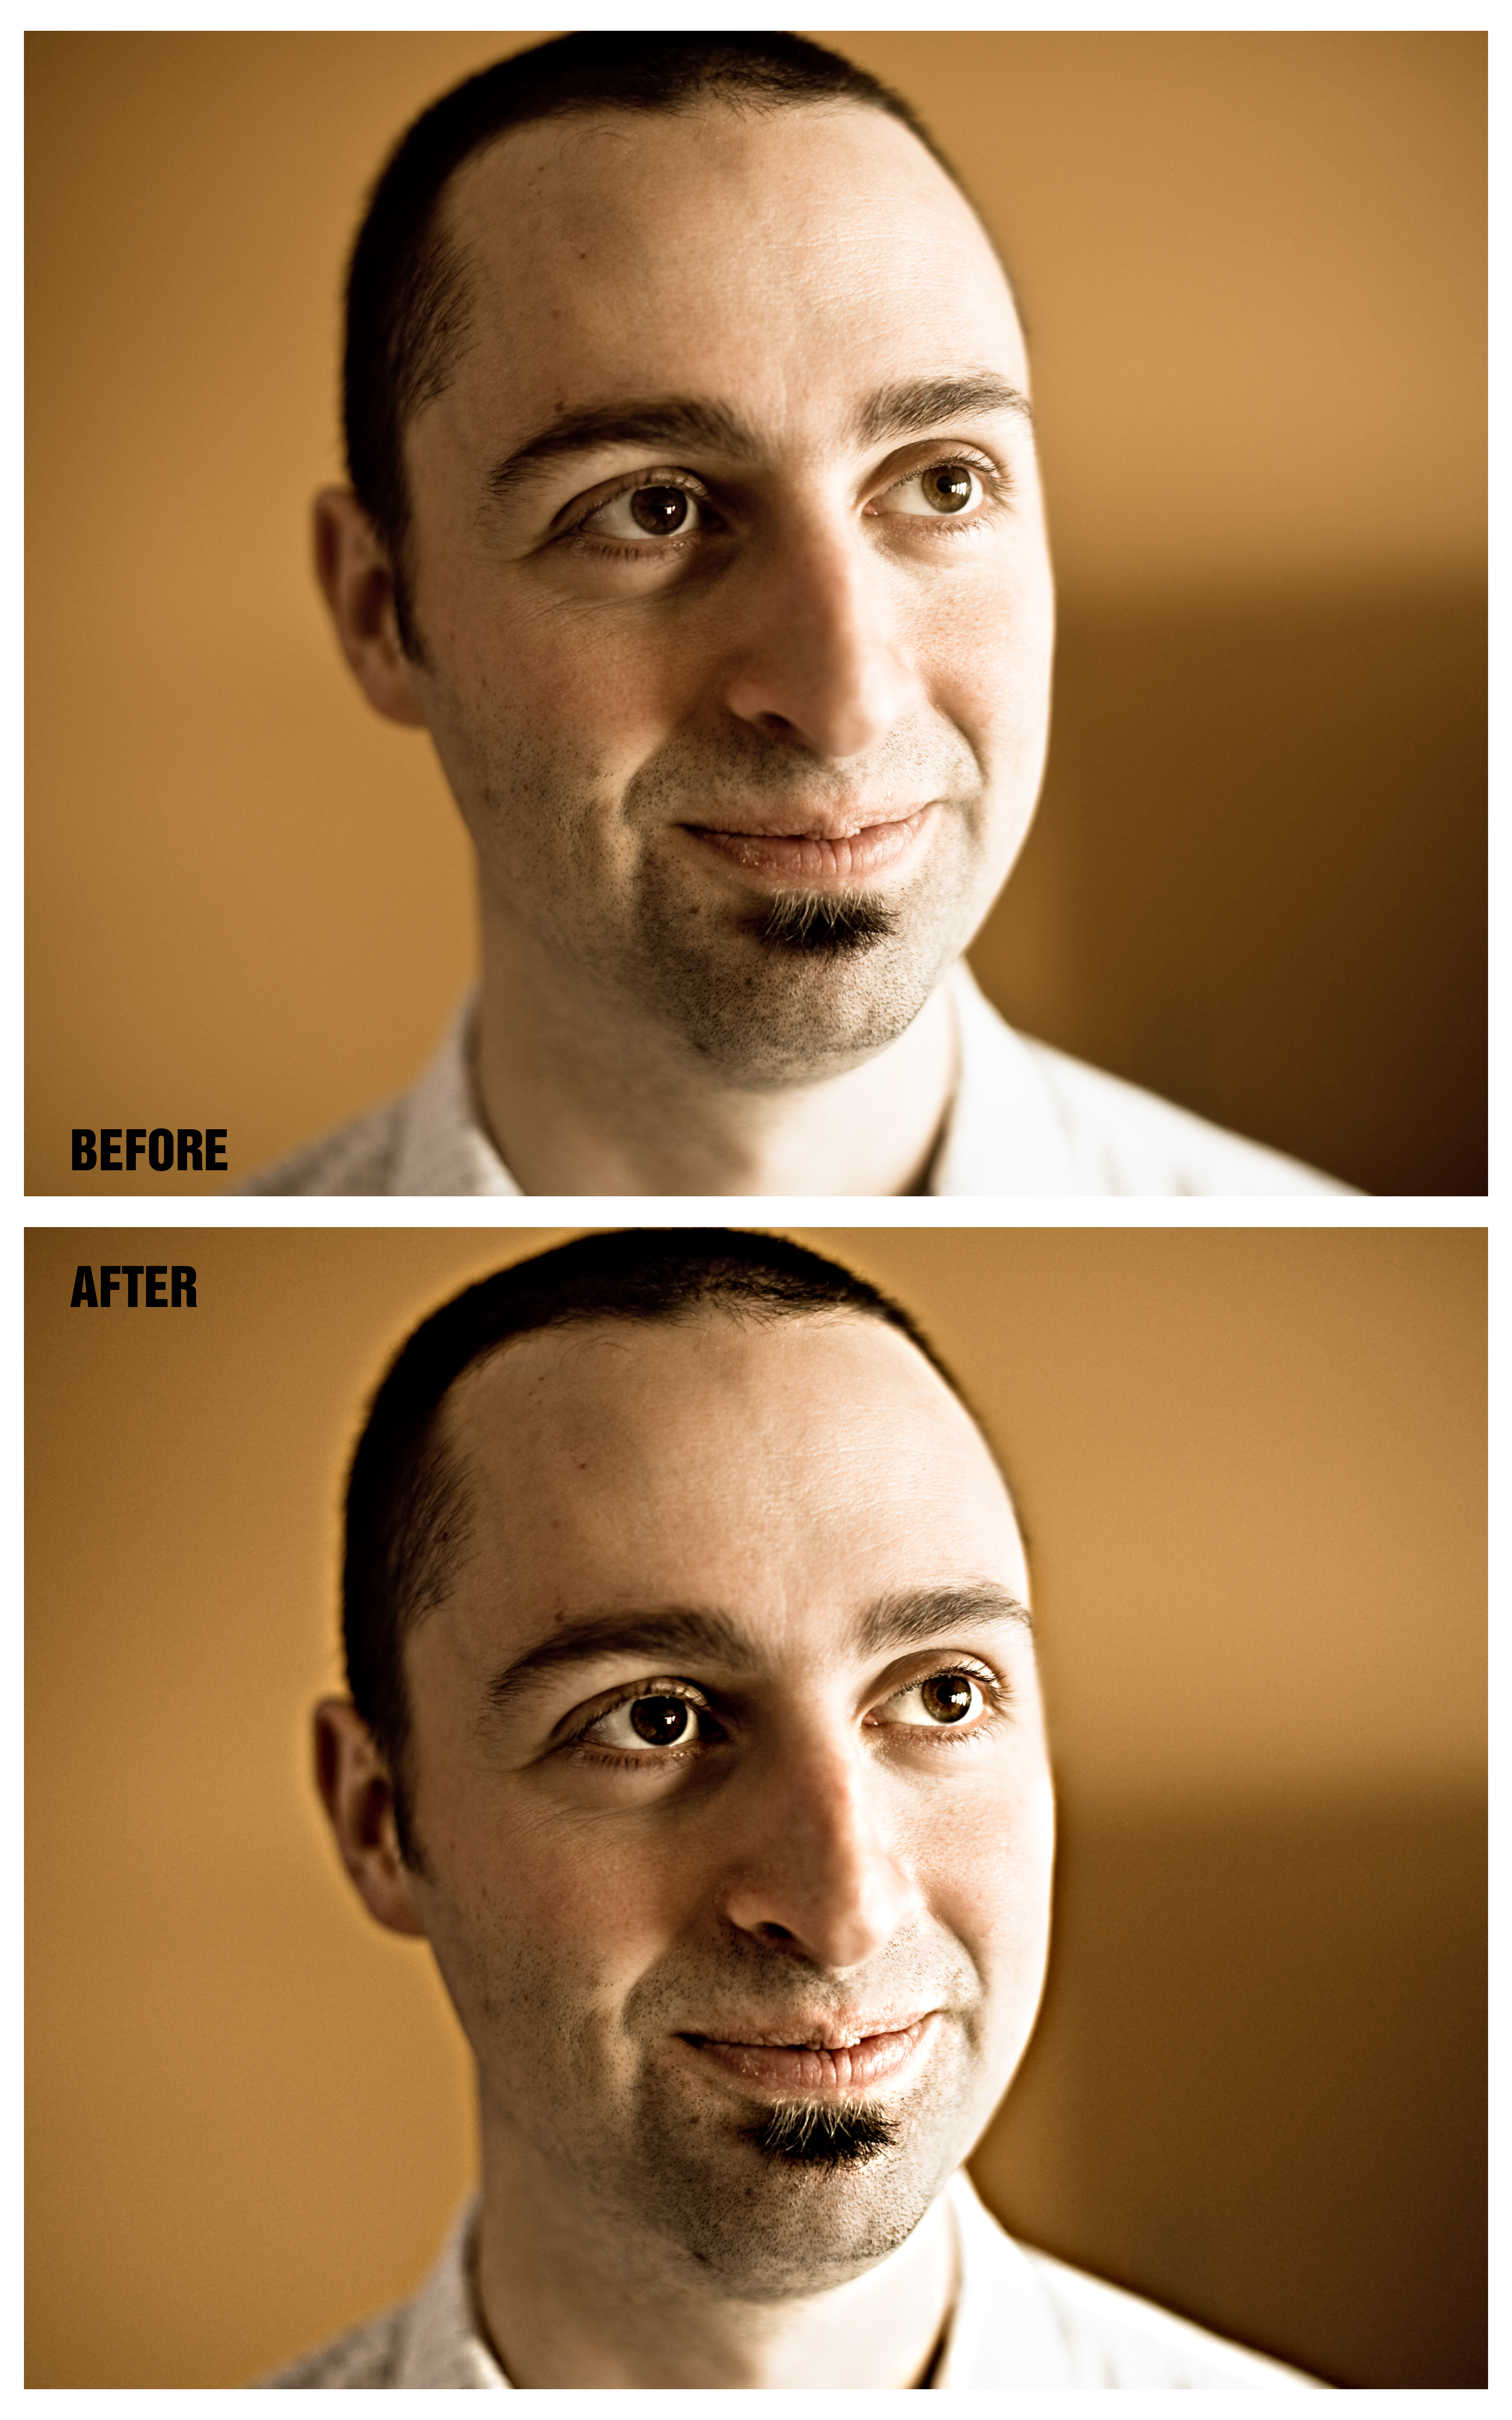
Here is an example, click on the picture for a bigger version. The file is almost 8MB so it may take a minute to download.


In this case I made the effect subtle but still noticeable. I used a layer mask so the effect only affected his eyes, head outline, lips and general strong features. I made sure it did not effect his skin in general as it would bring out too much detail and look unflattering. Although in this case the background is out of focus and soft it still helps to add some separation between him and the background, adding a little more dimension.

-The High Pass Tutorial-

An easy way to test this filter is to open up an image in photoshop, something with some detail (although I recommend trying it on a soft or slightly off focus shot as well) and then duplicating the original layer.

-On the copy of the background layer go to Filters -> Other -> High Pass.

-Enter a value around 17.0, in this case this is just an arbitrary number, feel free to experiment as you become more comfortable. The number will vary depending on the dimension of your picture.

-Hit OK to apply the filter. You will notice it is a grey color with faint outline of your image

- Now, under the Layers tab change the blending mode of the High Pass layer to Soft Light and drop the opacity of the layer until you hit a desired effect. You can also use different blending options such as Hard Light or Overlay. Feel free to experiment.

While this method is quick and painless the tutorial mentioned earlier in this topic is actually more versatile and yields cleaner and nicer results. Overall it is a very similar effect, just done a lot better.

Lomo Effects


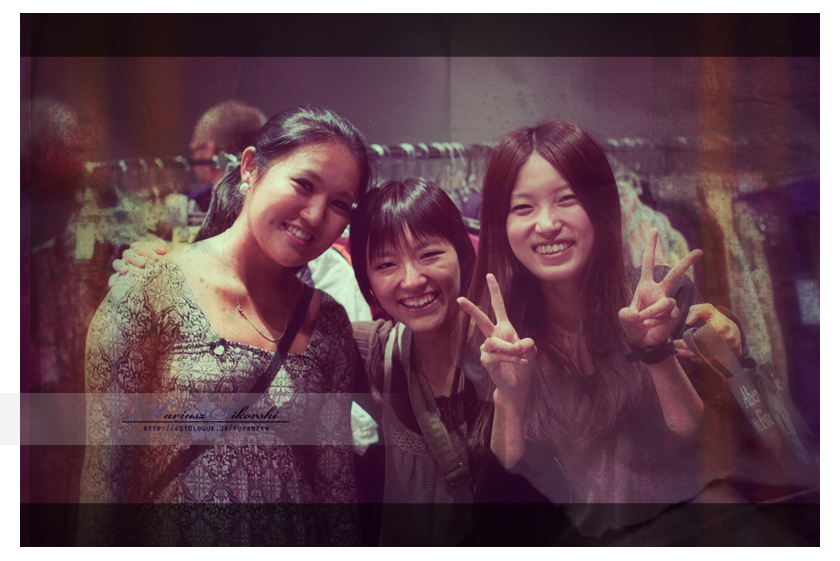
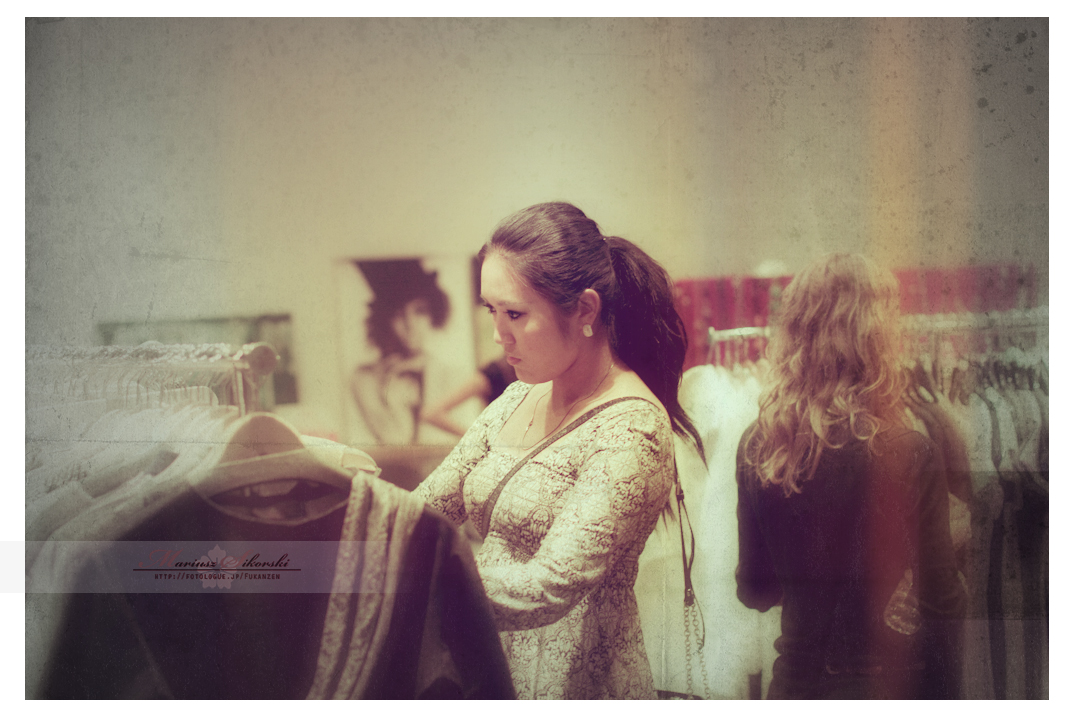
I love doing these. It's more for time's when i bring my DSLR along and use it almost like a point and shoot. Part of the initial appeal is getting fly on the wall type shots, ones without much planning or thought put into them so to speak. You can find a lot of different tutorials on youtube to pull off this sort of texture and style. At the core of it all is cross processing. From there you can add soft edges, lens blurs, light leaks, vignetting , textures and a few other effects.

I want to put up a post about specific tutorials which I hope to do over the weekend. I've been running around a lot the past few days and haven't had much of a chance to sit down and do some photo editing let alone blog posting.

You can start with the basics of cross processing here. The best advice is to learn it and experiment experiment experiment.